[Github 잔디심기🌱] Tistory 글 업로드시 Github에 커밋 (Python)
휑한 잔디를 보며 마음이 아파.. 티스토리에 글을 업로드 할 때 깃허브에 커밋이 되면 좋겠다고 생각이 들어 찾아보았는데
Github Action을 통해 간단하게 구현이 가능한 것 같았다. 시도.
티스토리에서 rss 기능을 제공하고 있어 rss를 통해 가져오는 방법으로 진행했다.
훗날 막히거나, 티스토리가 아닐 경우엔 BeautifulSoup이나 Selenium같은 크롤링 라이브러리를 활용하면 되겠다!
Tistory RSS 설정
블로그 관리 > 블로그 > 기타 설정
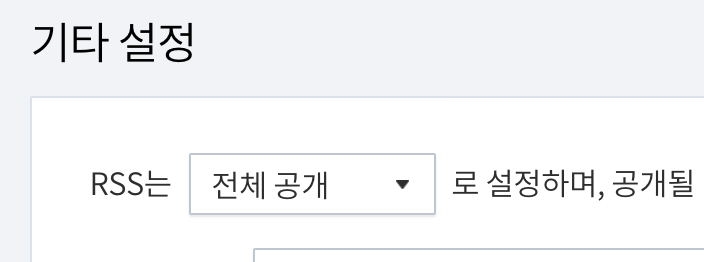
블로그 url/rss 로 확인한다.
피드 가져오기
rss 피드를 가져오기 위해 python의 feedparser를 이용했다. 설치
pip install feedparser
테스트 해본다.
import feedparser
import pprint

BLOG_URL = "https://knewnew.tistory.com"
feed = feedparser.parse(BLOG_URL + "/rss")

pprint.pprint(feed.keys())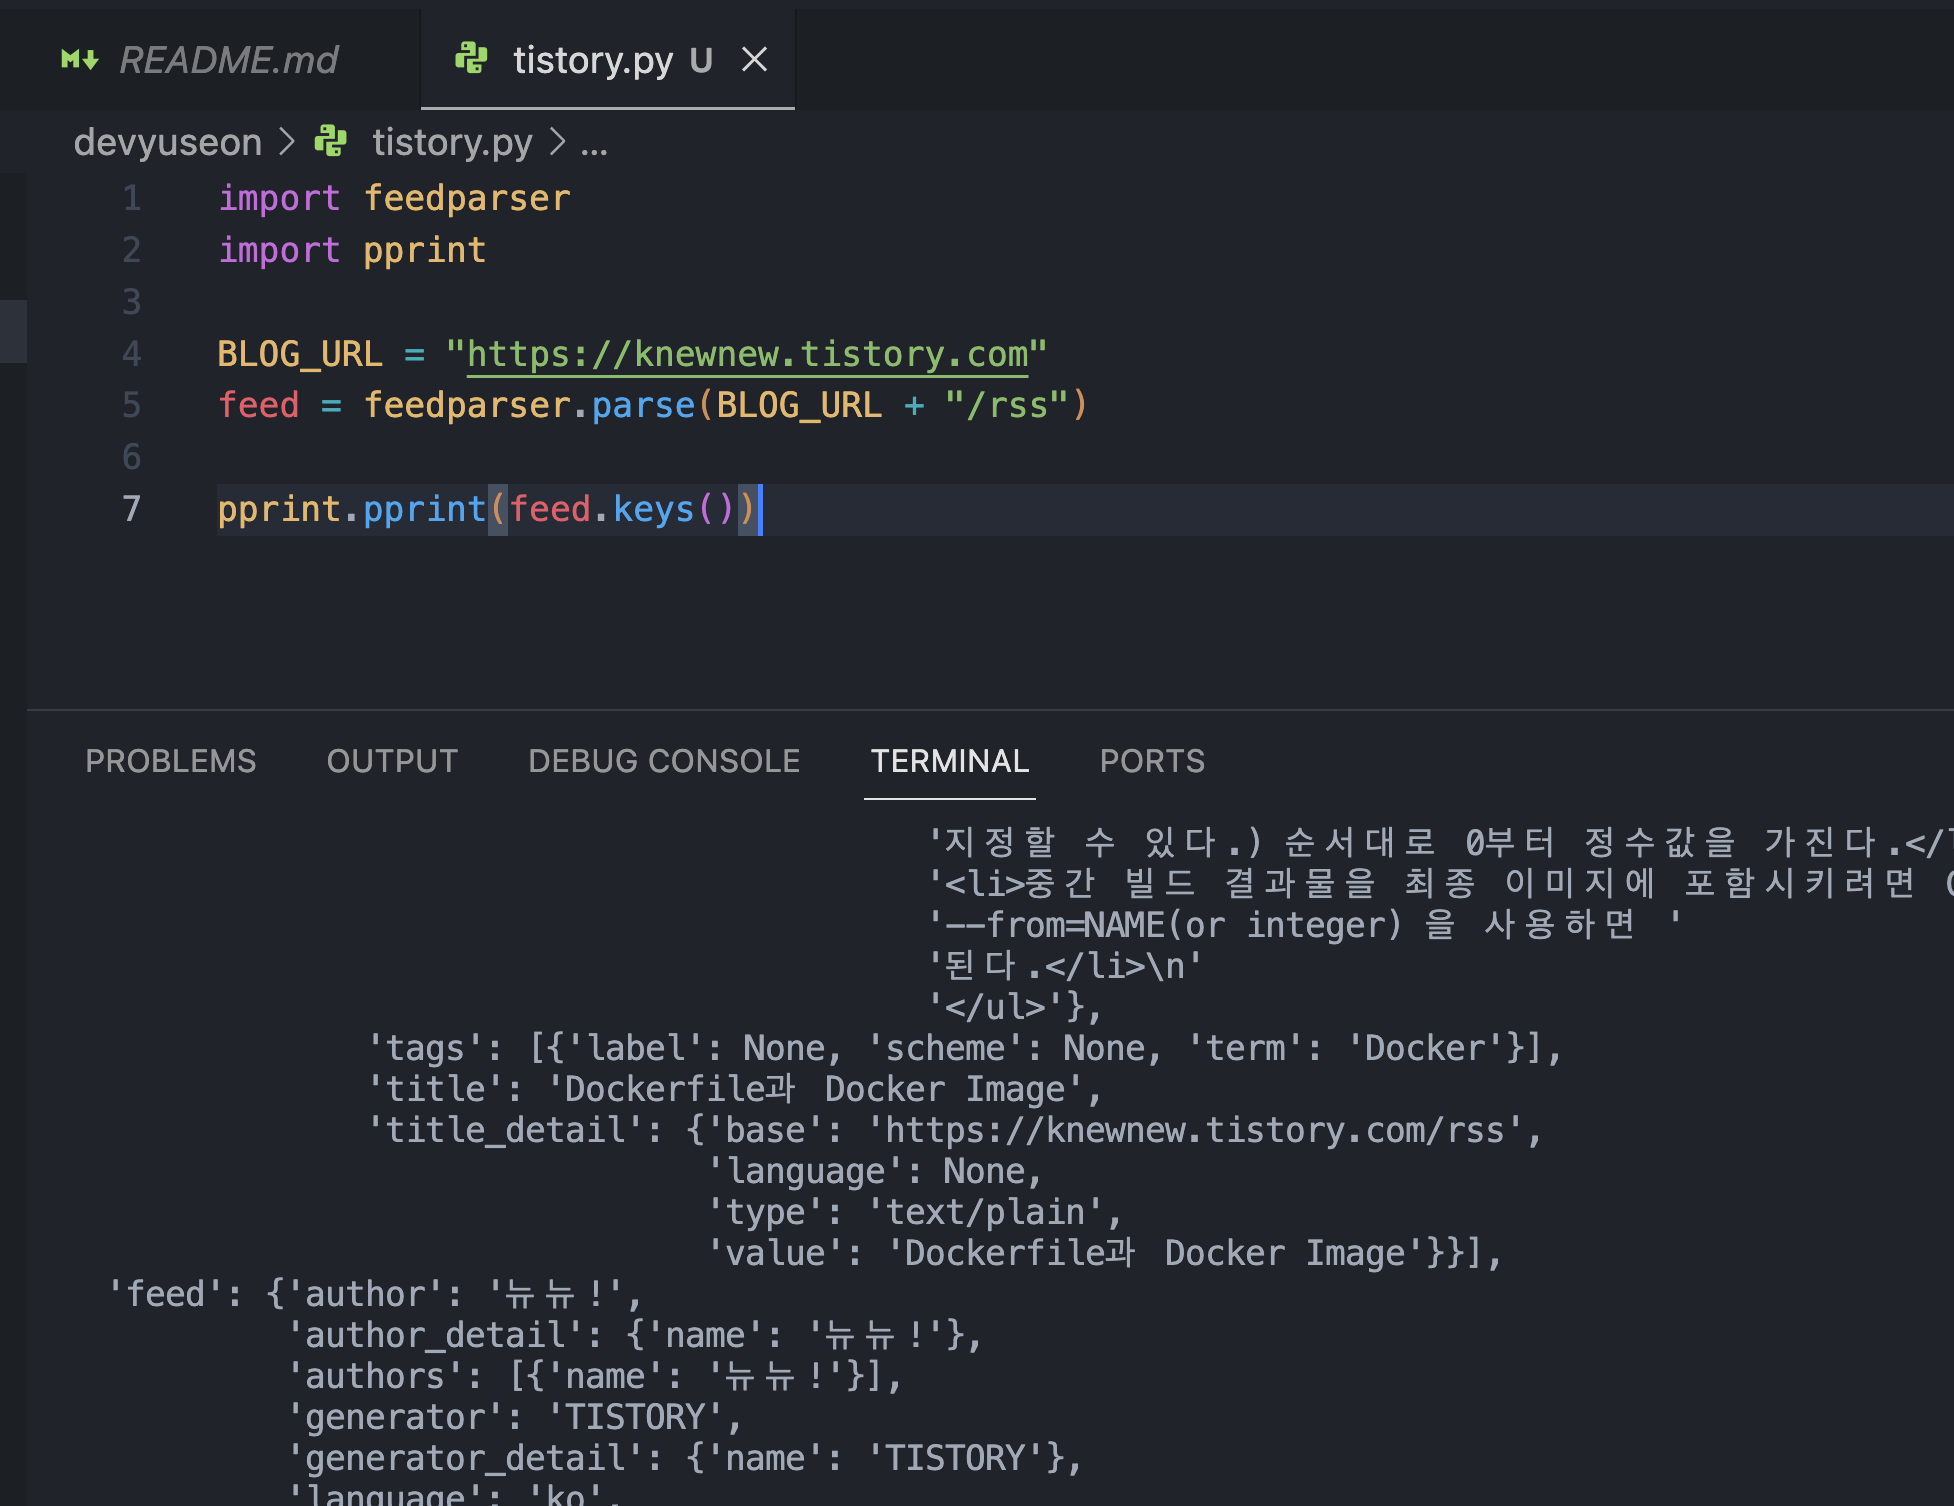
이제 글 목록을 가져와야 한다. (블로그마다 다를 수 있기때문에 방법만 참고하세요!)
너무 길어서 일단 딕셔너리의 키를 확인한다.
pprint(feed.keys())
'''
dict_keys(['bozo', 'entries', 'feed', 'headers', 'href', 'status',
'encoding', 'version', 'namespaces'])
'''
entries 같은 느낌이 강하게 오므로 출력해보자.
글 목록을 만들기 위해선 아래 세 값을 이용하면 될것같다.
publised	# 발행일자
title		# 제목
link		# 링크
발행일자 기준으로 정렬된 리스트 구하기
entries를 가져와서, 발행일자 기준으로 내림차순 정렬한다.
entries = feed['entries']
entries.sort(key=lambda x: datetime.strptime(x.published, '%a, %d %b %Y %H:%M:%S %z'),
             reverse=True)
5개까지 slice해 원하는 포맷으로 변환해 posts 리스트에 담는다.
posts = []
for entry in entries[:POST_COUNT]:
    # 날짜 형식 변경 (yyyy-mm-dd)
    published_date = datetime.strptime(entry.published, '%a, %d %b %Y %H:%M:%S %z').strftime('%Y-%m-%d')

    posts.append(f"- {published_date} [{entry.title}]({entry.link})")

pprint.pprint(posts)
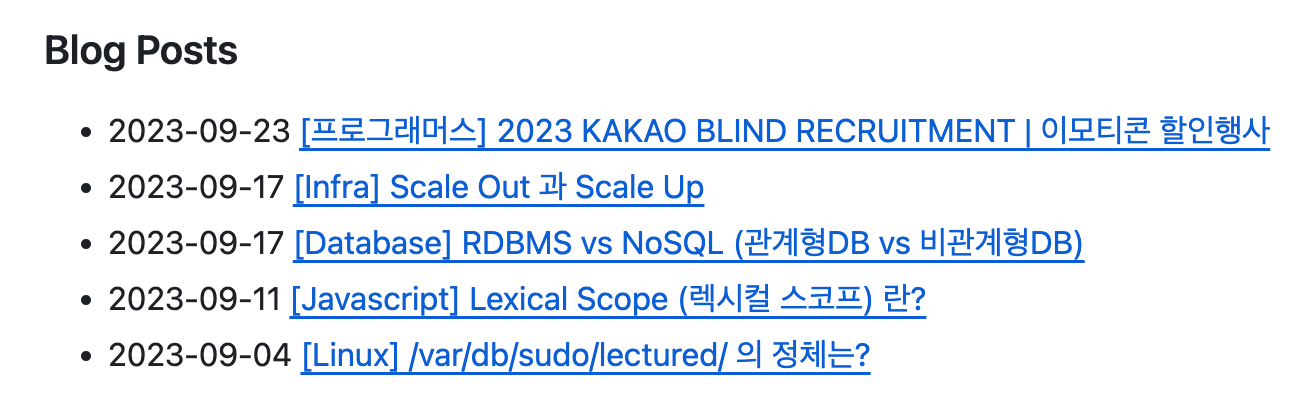
아래처럼 잘 완성되었다.
- 2023-09-23 [[프로그래머스] 2023 KAKAO BLIND RECRUITMENT | 이모티콘 할인행사](https://knewnew.tistory.com/entry/Programmers-2023-KAKAO-BLIND-RECRUITMENT-%EC%9D%B4%EB%AA%A8%ED%8B%B0%EC%BD%98-%ED%95%A0%EC%9D%B8%ED%96%89%EC%82%AC)
- 2023-09-17 [[Infra] Scale Out 과 Scale Up](https://knewnew.tistory.com/entry/Database-Scale-Out-%EA%B3%BC-Scale-Up)
- 2023-09-17 [[Database] RDBMS vs NoSQL (관계형DB vs 비관계형DB)](https://knewnew.tistory.com/entry/Database-RDBMS-vs-NOSQL-%EA%B4%80%EA%B3%84%ED%98%95DB-vs-%EB%B9%84%EA%B4%80%EA%B3%84%ED%98%95DB)
- 2023-09-11 [[Javascript] Lexical Scope (렉시컬 스코프) 란?](https://knewnew.tistory.com/entry/Javascript-Lexical-Scope-%EB%A0%89%EC%8B%9C%EC%BB%AC-%EC%8A%A4%EC%BD%94%ED%94%84-%EB%9E%80)
- 2023-09-04 [[Linux] /var/db/sudo/lectured/ 의 정체는?](https://knewnew.tistory.com/entry/Linux-vardbsudolectured-%EC%9D%98-%EC%A0%95%EC%B2%B4%EB%8A%94)%
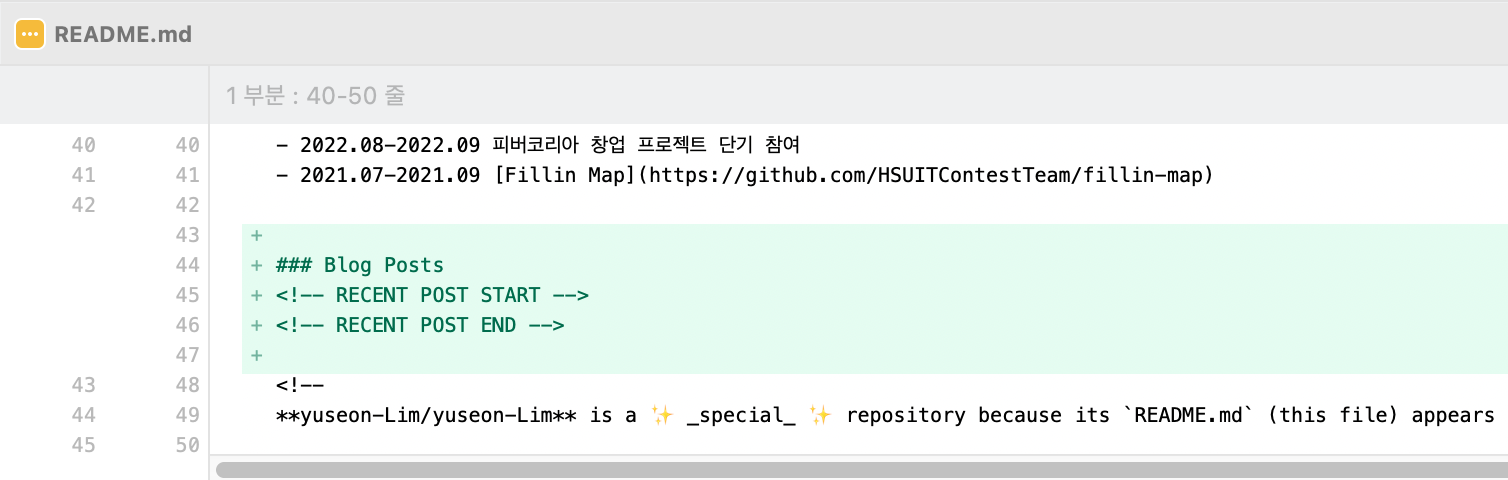
README.md 업데이트 하기
나는 아래와 같은 방법으로 README.md에 최신 포스트를 업데이트 했다.
- README.md 파일을 열어 파일 내용을 구한다.
- <!-- RECENT POST START --> 와 <!-- RECENT POST END --> 가 몇번째줄인지 구한다. (설정한 태그는 md파일에 미리 넣어둔다.)
- 사이에 구한 리스트를 끼워넣어 새로운 내용을 만든다
readme_path = './README.md'

# open README.md
with open(readme_path, 'r', encoding='utf-8') as readme_md_file:
    original_readme = readme_md_file.read()

# README.md 파일에서 <!-- RECENT POST START -->와
# <!-- RECENT POST END --> 사이의 부분을 찾아 교체
start_comment = '<!-- RECENT POST START -->'
end_comment = '<!-- RECENT POST END -->'

start_index = original_readme.find(start_comment)
end_index = original_readme.find(end_comment)

joined_str = '\n'.join(posts)
updated_readme = (
    original_readme[:start_index] +
    start_comment + '\n' +
    joined_str + '\n' +
    original_readme[end_index:]
)
updated_readme가 새로 만든 내용이다.
README.md 덮어쓰기
변경 사항이 있을때만 파일을 덮어 쓰도록 해줬다.
파일을 덮어쓸때, 원본 파일이 더 짧은 경우를 대비해 남는 부분을 삭제하는 로직도 넣어주었다.
# README.md 파일에 업데이트된 내용 쓰기 (내용이 변경된 경우에만)
if updated_readme != original_readme:
    with open(readme_path, 'w', encoding='utf-8') as readme_md_file:
        readme_md_file.write(updated_readme)

    # 파일의 길이를 맞추기 위해 남는 부분을 삭제
    with open(readme_path, 'a', encoding='utf-8') as readme_md_file:
        readme_md_file.truncate()
else:
    print("no change. no update")
실행해보자!!!!!
실행 전
실행 후
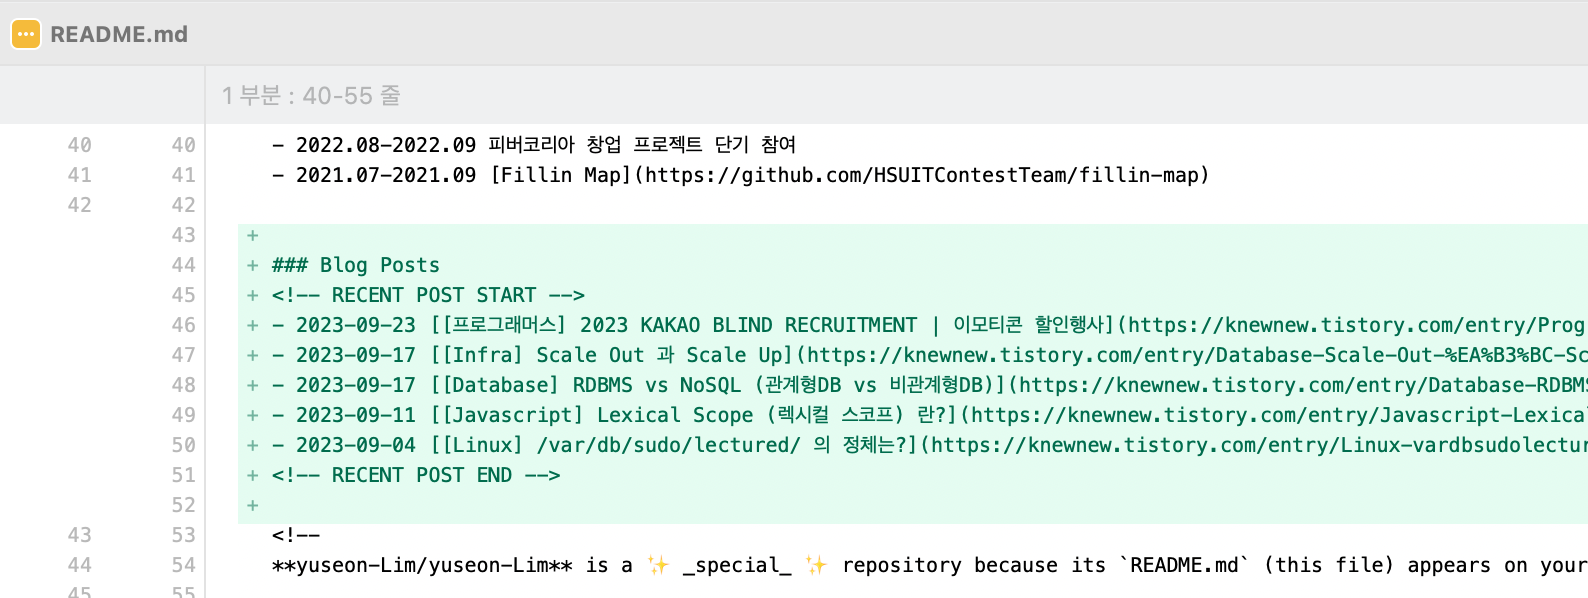
짝짝짝👏👏👏👏👏 바로 이겁니다 이거야~
Github Actions
Actions > Continuous Integration > Publish Python Package
yml 파일 생성해준다.
일단, 완성된 yml 파일은 이렇다.
그 그전에 어떤 내용을 포함하면 좋을 지 살펴보자.
YAML 내용 살펴보기
스케줄러 등록
  schedule:
    - cron: "0 6 * * *"
나는 매일 새벽 6시에 실행하도록 했다.
UTC 기준이다.. 매일 새벽 6시가 되려면 21시로 적으면 될 것이다.
권한
permissions:
  contents: write
README 파일 편집을 위해 권한도 설정해줬다.
패키지 설치
      - name: Install dependencies
        run: |
          python -m pip install --upgrade pip
          pip install datetime
          pip install feedparser
코드 실행에 필요한 패키지를 설치한다.
스크립트 실행
      - name: Update README
        run: python update-post.py
위에서 작성한 파이썬 스크립트를 수행한다.
커밋-푸쉬
      - name: Commit README
        if: steps.check_changes.outputs.code == 0
        run: |
          git config --global user.email "이메일"
          git config --global user.name "이름"
          git add .
          git commit -m "[auto] $(date -u +"%Y-%m-%d") Blog Posting List Update" || exit 0
          git push origin main
변경사항이 있을때, 커밋하고 푸시한다.
변경 사항이 없을때, 커밋을 시도하면 비정상 종료되고 실패한 빌드가 된다.
exit 0으로 변경사항이 없을때 종료코드 0으로 종료될 수 있게 해준다.
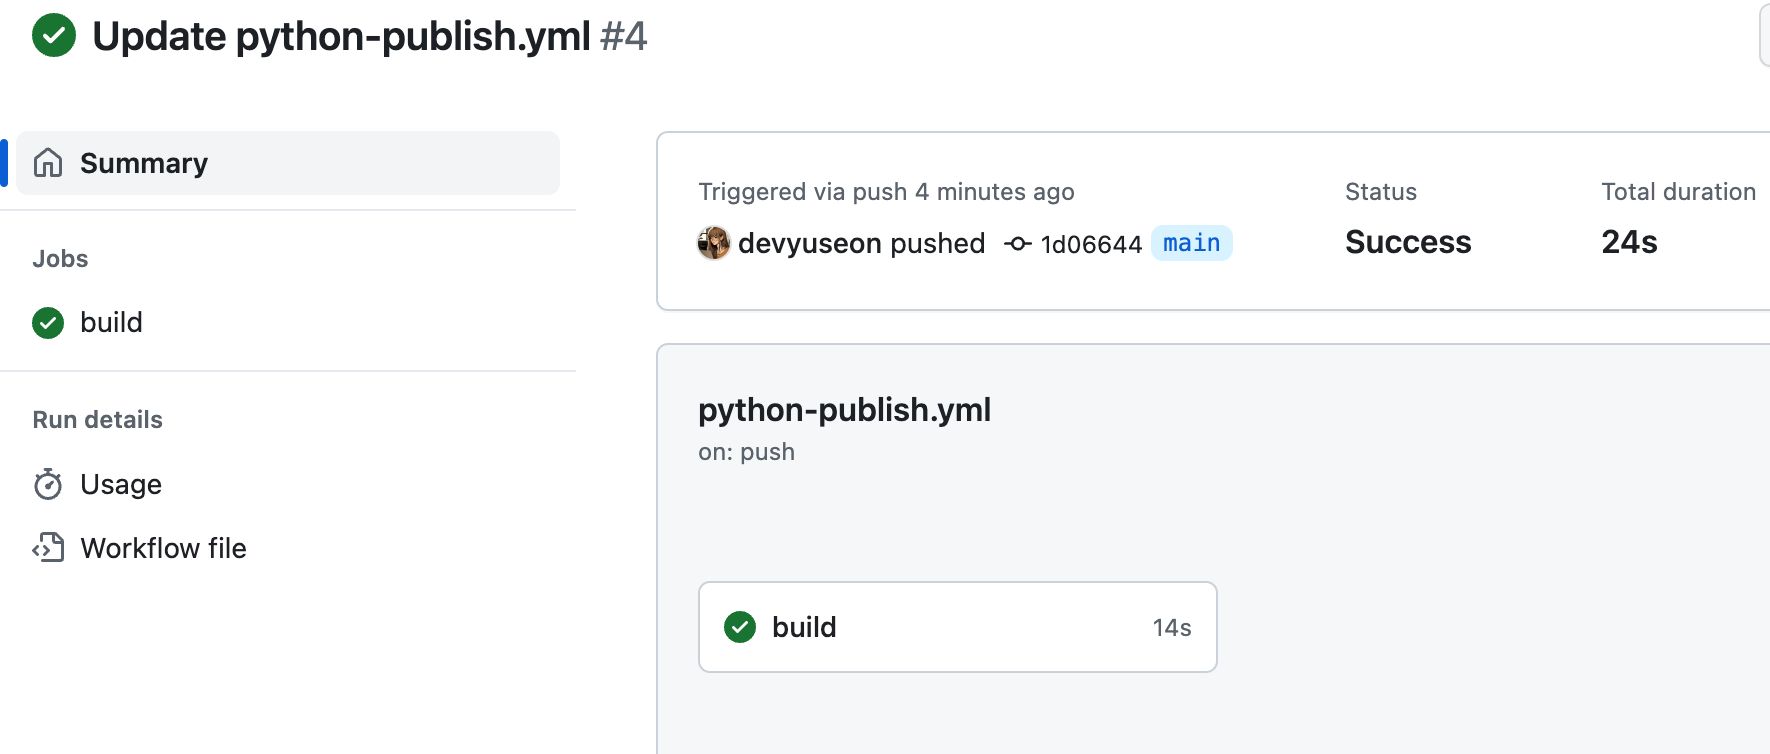
성공!!!!!!
이제 티스토리 블로그에 글을 쓰면 깃허브 프로필에 목록이 업데이트 될 것이다 ⭐️
파이썬 스크립트 소스코드
import feedparser
from datetime import datetime

# ===================
# 최근 5개 게시물 구하기
# ===================
POST_COUNT = 5
BLOG_RSS_URL = "https://knewnew.tistory.com/rss"
feed = feedparser.parse(BLOG_RSS_URL)

entries = feed['entries']
entries.sort(key=lambda x: datetime.strptime(x.published, '%a, %d %b %Y %H:%M:%S %z'),
             reverse=True)

posts = []
for entry in entries[:POST_COUNT]:
    # 날짜 형식 변경 (yyyy-mm-dd)
    published_date = datetime.strptime(entry.published, '%a, %d %b %Y %H:%M:%S %z').strftime('%Y-%m-%d')
    posts.append(f"- {published_date} [{entry.title}]({entry.link})")

# ===================
# README.md에 posts 삽입
# ===================

readme_path = './README.md'

# open README.md
with open(readme_path, 'r', encoding='utf-8') as readme_md_file:
    original_readme = readme_md_file.read()

# README.md 파일에서 <!-- RECENT POST START -->와
# <!-- RECENT POST END --> 사이의 부분을 찾아 교체
start_comment = '<!-- RECENT POST START -->'
end_comment = '<!-- RECENT POST END -->'

start_index = original_readme.find(start_comment)
end_index = original_readme.find(end_comment)

joined_str = '\n'.join(posts)
updated_readme = (
    original_readme[:start_index] +
    start_comment + '\n' +
    joined_str + '\n' +
    original_readme[end_index:]
)

# ===================
# README 덮어쓰기
# ===================

# README.md 파일에 업데이트된 내용 쓰기 (내용이 변경된 경우에만)
if updated_readme != original_readme:
    with open(readme_path, 'w', encoding='utf-8') as readme_md_file:
        readme_md_file.write(updated_readme)

    # 파일의 길이를 맞추기 위해 남는 부분을 삭제
    with open(readme_path, 'a', encoding='utf-8') as readme_md_file:
        readme_md_file.truncate()
else:
    print("no change. no update")
Github Action 설정 YAML 소스코드
# This is a basic workflow to help you get started with Actions
name: Readme Update

# Controls when the workflow will run
on:
  push:
    branches:
      - main
  pull_request:
    branches:
      - main
  schedule:
    - cron: "0 6 * * *"

permissions:
  contents: write

# A workflow run is made up of one or more jobs that can run sequentially or in parallel
jobs:
  # This workflow contains a single job called "build"
  build:
    runs-on: ubuntu-latest
    steps:
      - name: Checkout code
        uses: actions/checkout@v2

      - name: Set up Python
        uses: actions/setup-python@v2
        with:
          python-version: '3.x'

      - name: Install dependencies
        run: |
          python -m pip install --upgrade pip
          pip install datetime
          pip install feedparser

      - name: Update README
        run: python update-post.py

      - name: Commit README
        run: |
          git config --global user.email "이메일"
          git config --global user.name "이름"
          git add .
          git commit -m "[auto] $(date -u +"%Y-%m-%d") Blog Posting List Update" || exit 0
          git push origin main